Sunday, January 23, 2011

Part 3: Doll Dresses!

Now we are going to make the dresses! Just like I did with the bodies and hair, I first cut on paper to see  what i wanted for a dress. I decided I liked the first dress offered on the Paper Doll Dress Up cartridge the best. Also, after cutting it out the dress I discovered that the size 8, (the size of my paper doll body) was a little bigger than I wanted for my body. So I tried 7 3/4 and 7 1/2 and I decided I liked the 7 1/2 the best. It makes the dress a tiny bit shorter and a little bit smaller around the waste. I figured it any of my doll waist pokes out on the side I can trim the waist! (wouldn't that be nice to do in real life?) I did the black out feature so that there wouldn't be any unnecessary detailed lines on the surface of the fabric. After cutting it out on paper I measured a surface of 6x5 inches for the dress. So I cut out 6x5 pieces, and ironed on the HeatnBond just like I did with the other pieces.
 However, when I cut them out with the cricut, I discovered that my pieces were still too small.


 I should have done 6x6 pieces. My dress cut very close to the edge (which isn't a problem with paper), but with fabric, it sometimes cut off the bottom of the dress entirely, or gave me torn edges (since the fibers in the fabric can stretch, paper can't stretch!) Here is an example of a dress that was torn at the bottom, so i had to cut with my own sizzors the bottom to make it clean and smooth.
SO- for your project cut 6x6 pieces of fabric. I have found that even if the fabric is big enough for the object being cut, you want atleast a 1/2 inch extra on all edges because there needs to be a fair amount of fabric sticking to the mat so that it won't pull away from the mat. The cutting action wants to pull the fabric off the mat, and if there's not enough fabric holding it down, it will easily come up. So I would suggest to have atleast a half inch extra on all edges. For this project a 6x6 inch square will be plenty.
  

After you get your 8 dresses cut out you can finally start thinking about ironing them down. The only reason you wouldn't want to iron them down now is if you wanted to add shoes. I am still debating shoes, so I haven't ironed mien down. I need to sleep on it :) I am also going to do aprons on each dress.
I love it! I'm so excited to iron it all down. What do you think? Should I do shoes? I'm going to embroider the face, and cut and iron on an apron on each. What do you think for shoes?

Thursday, January 20, 2011

Part 2: Doll Hair!

Before you do anything, DON'T IRON any pieces together YET! I will explain later.
 Now we are going to make doll hair. I chose 4 different colors: Dark brown, light brown, yellow and red.
 First I cut out my different hair styles with PAPER to see (like I did with the bodies) how much fabric I would need. I figured out each one ranged between 4-5 inches tall, so I cut out strips 5 inches wide.
 For my project I only need 2 of each color (8 total) so I cut each strip about 12 inches long. I did this to be safe, but after I cut them out I had 1-3 inches left over on each strip. SO if you don't want to waste fabric, then measure exactly how much fabric the hair will use. Otherwise 11 inches will be good enough.
 This is an example of how much the hair took up on the paper, giving me an example of how much fabric I would need. But as you can see each style of hair is a different size, so that's why I allowed extra, just in case.
 once I cut out my 5x12 inch pieces I ironed the HEATnBOND ULTRA HOLD to the backs just as the directions explain.
 take off the paper backing and put the rubber side facing down on the mat, just like you did with the bodies.
 pre-set 2 hair styles per color, and voila! You will have 8 of the cutest little haircuts you ever did see.

 THIS IS WHY I DON'T WANT YOU TO IRON THEM DOWN YET. As you can see- some of the hair goes behind the body, some of the hair will need to go over a dress. Once it's ironed down it's stuck! So- just cut out your pieces and resist the temptation to iron them down.
 I love the red color and style!


Don't you wish you had my camera? Sorry for the lousy pictures. Ok- next step- dresses!!!!!!

Tuesday, January 18, 2011

Part 1: Doll Quilt

This is a tutorial on how to make a doll quilt with your cricut:

Before you do anything, decide what size you want your dolls to be. I wanted mine to be as big as they could but still produce a good quantity. I discovered that on 24x12 mat, I could fit 4 dolls. First I cut 2 out on paper to see how far away they cut from each other and to see how far away the image started from the edge of the mat.
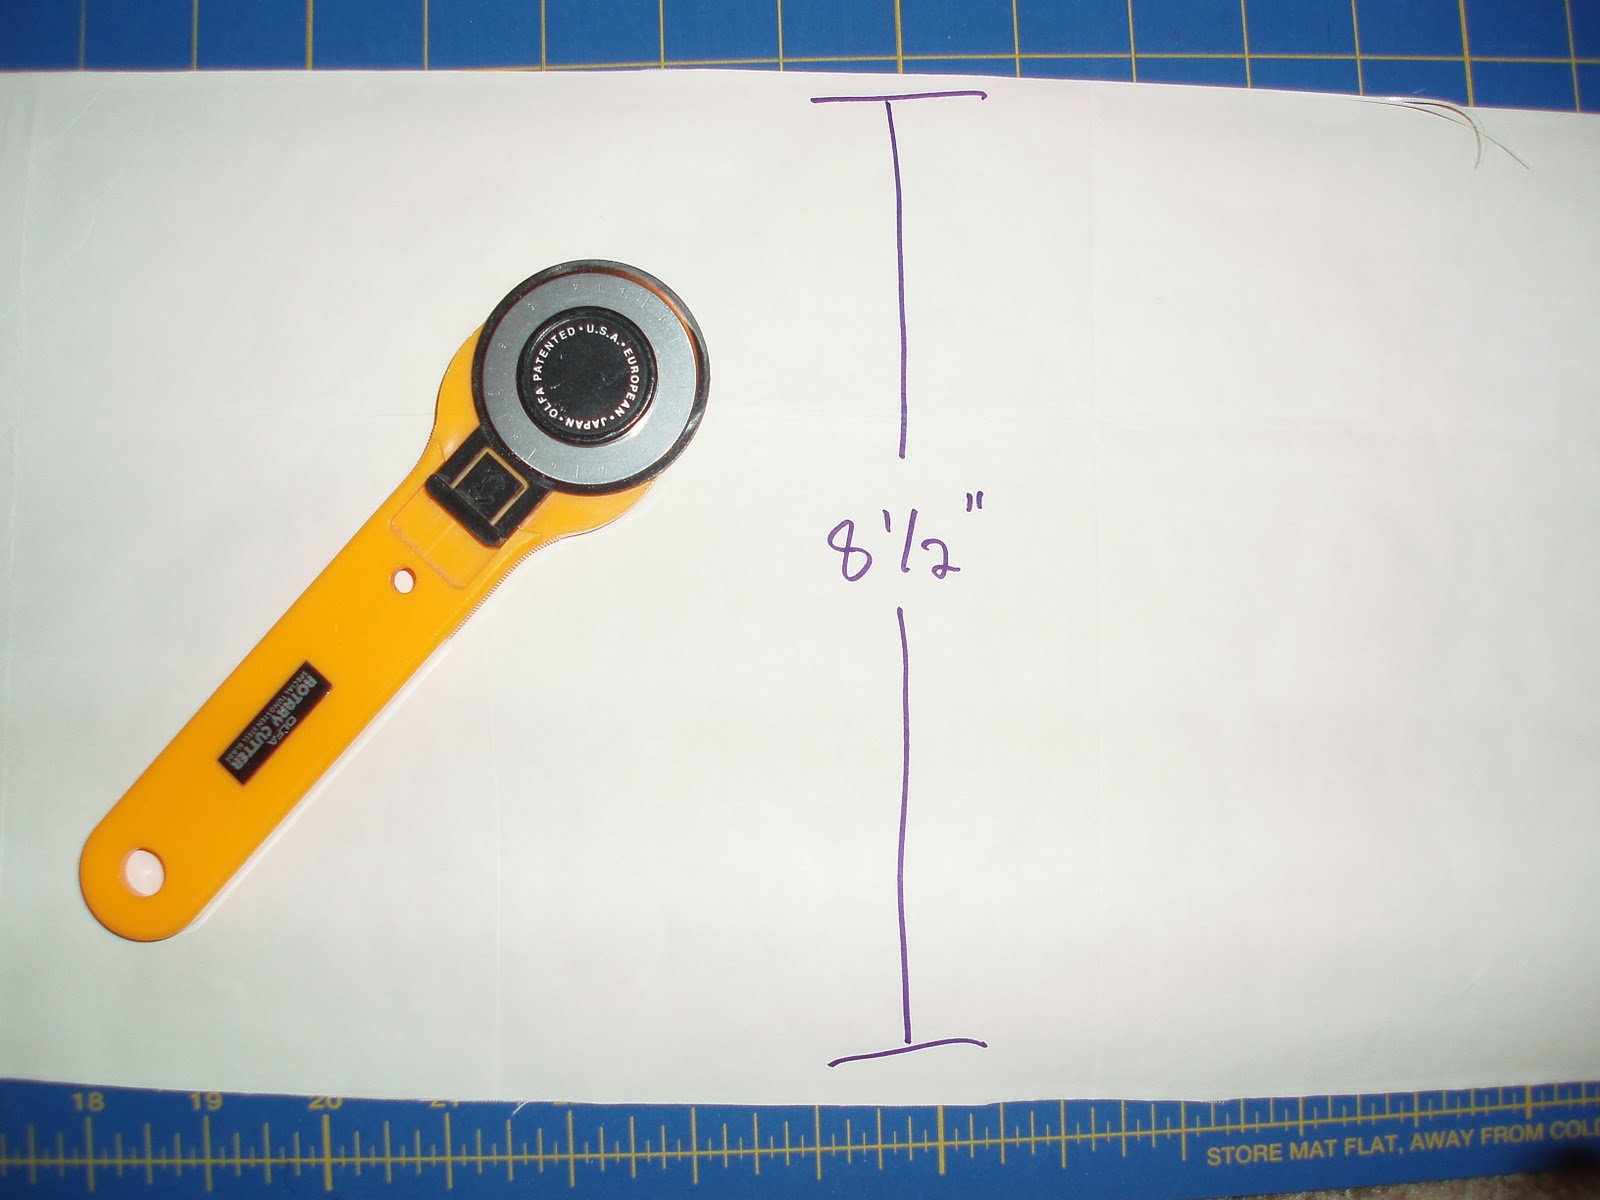
This way I could determine how much fabric I needed and how much could fit in the space I had. After doing this, I figured out I could fit 4 dolls that were 8 inches tall on the 24x12 mat on a piece of fabric that was 24 x 8 1/2 inches. If you don't have a 24x12 mat, you can do 2 on a 12x12 mat.
 I took my skin colored fabric, ironed it, and then ironed on the HeatnBond ULTRA HOLD. Follow the directions on the label.

After I ironed my fabric onto the ULTRA HOLD HeatnBond, I cut out the fabric to the sizes I needed. 24 x 8 1/2 inches in size. If you get a piece of fabric that is 45 wide you only need to buy 19 inches. (19 so you can have 2 extra inches for shrinkage, you will want your final product to be 17 inches long.
 After cutting my pieces I was left with (2) 24 x 8 1/2 fabric pieces.
Then I removed the paper and placed the rubber side of the fabric face down on the mat. Press firmly. I used I brand-new mat for this project as well as a new deep cut blade. These are the settings I used:

Blade: 4
Speed: low/ minimum
Pressure: max
size: 8 inches
(if you have an expression- quantity 4)

I also used the blackout feature so that the eyes and mouth wouldn't be cut out as I plan on embroidering them on.
 Then I peeled off each doll. This is the exciting part!

 This is what you should see on your mat when you're done peeling them off.
 After doing the whole process twice- you will have 8 cut out dolls!!! YAY!

Stay tuned for the next tutorial!

Friday, December 31, 2010

Christmas Gift for Megan

Well, I had Megan's fam for Christmas this year, I painted and distressed this frame for them, with the option of either pic. Too hard for me to decide which.

Then with my magical cricut, I cut out these baby images and made these frames. LOVE THEM. Can't wait to make them for my nursery and anybody else's in their colors. Megan's colors are red, white and black for her nursery.


Monday, October 4, 2010

Cards for the kids and cute story


SO- after I left Lizzie's house awhile ago- Kate had drawn me a picture that i forgot to bring home. So she sent it to me in the mail. SO cute. Anyway- so I thought I would write her back, since she was thoughtful enough to "write" me. So I made her a cricut card of me and her, (not posted, didn't take a pic) of realistic outfits we really would wear, along with hair, holding hands. WELL, turned out she loved it, and so she immediately "wrote" me again, so I would send her another card. When Tanner saw the card....:) haha- ofcourse he was inspired to write me a card in hopes that he would also get one in return, apparently the cards were out in the mail within 2 hours of getting my card. haha. So I got them this last weekend, and I made them these cards- I loved making them, and I have a feeling I will be getting another card from them shortly :) Rebecca, if you're reading this- I will do this for your girls too if they write me.
A funny note, I talked to kate on the phone and she said "all the clothes are ripped off", and I'm like- why? and she said- "I don't know". So I get on the phone with Lizzie, and she said Tanner and his friend ripped off all the clothes, hair, and asserories, and I think they might have ripped off the arms too, not sure about that though-when Kate wasn't around. It made Kate sad ofcourse, but it still made me laugh imagiing them thinking it woudl be so funny to take it all apart. Anyway- I'm thinking about bringing the cricut to the family reunion.

Thursday, September 23, 2010

practice dress

Ok, I REALLY wanted to write- "look at the dress I made" but- I'm too prideful to let anyone think I might truly wear this in public. One of my friends said she glanced at my blog the other day an thought I was serious about my silly hair due because she hadn't read the actual blog. But wouldn't have that been really funny?

Ok, so- this is a dress I want to make out of a different fabric. My mom did this with all our prom dresses, made a practice one to adjust everything, then cut into the real deal. I didn't want to mess up on this dress, so I decided to do a practice dress. It really cracks me up how the baskets of flowers ended up being perfectly centered without me meaning to do that. Even the collar part of the dress matches with the basket of flowers on the main dress- haha. And please ignore my lovely hair due in this pic. That back zipper part needs to be tucked in- I didn't hem anything.
Ok- I'm not trying to show off my boobs, BUT because this fabric is so busy, it's hard to tell that the collar is SOOOOOOOo awesome! The best part!


So I'm going to make the real thing in an olive green fake suede type fabric. And then I'm going to spray paint shoes to match in the same color. I HOPE the real deal turns out as good. I have to line the real deal, and I am soooooo not a pro at that. I'm so tempted to just turn over all the seams and not do lining, but then it will look ..... homemade. So I must have patience and endure the lining. I'm really excited about this pattern. The only thing though- is if I want it fitted I should probably have a LITTLE stretch to the fabric, and mine only has the tiniest stretch, sooooooo we'll see.

Tuesday, September 21, 2010

made a shirt!

So, from piperline (sister company of banana republic, gap etc) are these new shirts, that are the baggier look, with bigger armpits. I really like them. But they are...... 61 dollars

195 dollars


77 dollars


48 dollars


128 dollars

99 dolars

So I decided to make my own, for 4 dollars


I made this shirt today. It took me 3 hours, that included cutting out the pattern pieces, cutting out the fabric and sewing the shirt. SO- that means now that I KNOW how to make it, and have the pattern cut out- I'll be able to make it in probably an hour. It has 3 different top options. There's the flower, or plan, or a flouncy top, where it's hanging. It's a baggier style of a shirt- it's supposed to be baggy- does it look like it's supposed to be that way? Or does it look like I'm wearing a shirt that's too big? It's perfect for leggings. And it's comfortable. I want to learn how to make one that is more fitted in the armpits- but I haven't found a pattern yet. The thing that's nice about this pattern is the neck band is unfinished, it's kind of flouncy too, so it doesn't have to be PERFECT. I would like to try a finished band though and see how that turns out. Mike comes home- I'm all excited, I pose for him, and he gets this big smile/surprised look, "wow". "Do you like it?" He stares at the flower, points to it "what is this?" "a flower!" "oh. Why?" "BECAUSE THAT'S IN STYLE RIGHT NOW!" "Oh. Well, was it nice to sew?" "yeah it was". "That's good, I'm glad you could do that". Oh Mikey, he will get used to it though- he's already getting used to the headbands.

I want to find some striped fabric, and try some different neck lines, and pocket possibilities. Anyway- it was nice to sew, I haven't for awhile.